How to Open Your Case to Access the Inside
Sometimes it may be necessary to access the internals of your Velocity Micro computer, whether it’s to add a new hard drive or video card or to troubleshoot the memory or pop out the CMOS battery. Our larger cases are fairly easy to get into while our smaller ones can be a tight fit. If you feel uncomfortable at all while attempting to access the internals, we strongly recommend calling our support team and arranging to send it in for repair. While you are free to take your computer to a local shop, Velocity Micro will not cover any work done by them.
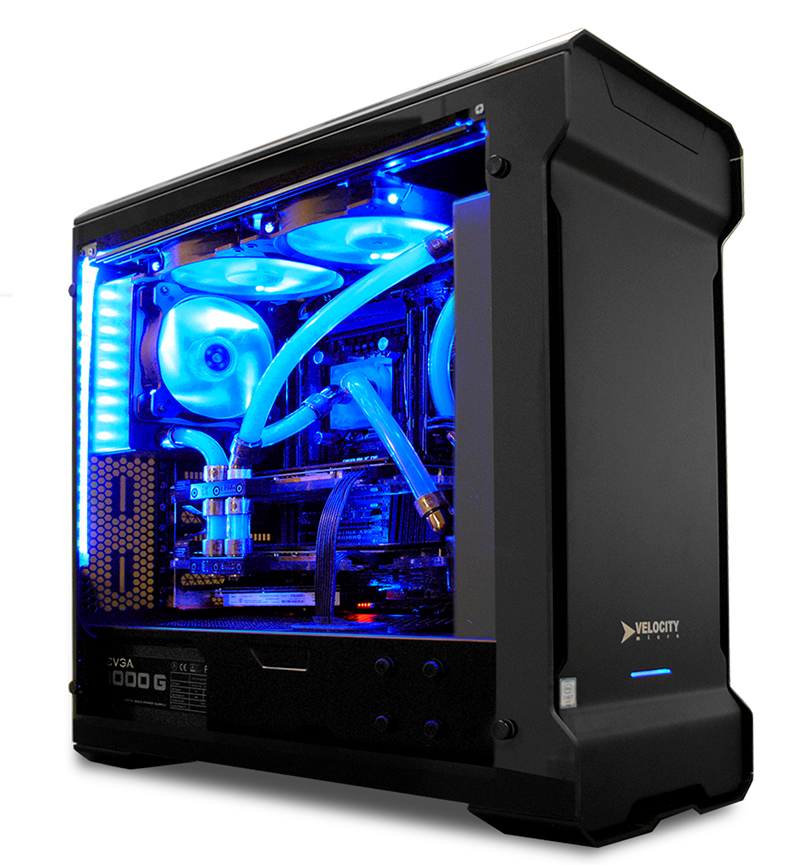
VX Case
Unlike most of our other cases, the VX has a tempered glass panel on both sides. Even though tempered glass is tougher and more shatter resistant than normal glass, it is still glass and should be treated delicately. There are 4 thumb screws in each corner that hold the panel in place. Once all 4 are removed, simply grip the top and bottom of the panel and pull towards yourself. Place the panel off to the side on a surface that won’t scratch it. To put the panel back on, simply align the 4 mounting holes and tighten the 4 thumb screws. Repeat for the back panel if necessary.
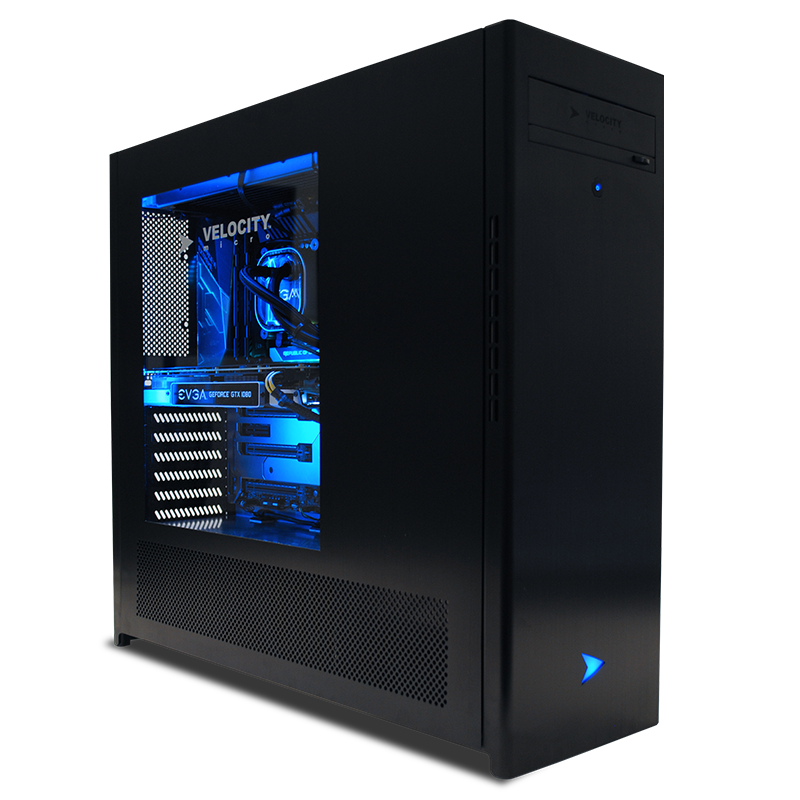
GX5/GX4 and MX3
Both the GX4/GX5 and MX3 have tool-less panels on one side for convenience, so the removal procedure is exactly the same. To remove the side panel, take one hand and put it underneath the bottom lip of the case and pull it towards you. The panel is held in place by plastic clips all around the edge of the case. To pop out the rest simply slide a hand around the edges until the panel comes free. On the GX4 and MX3 there is a side door that allows for the installation of two additional fans or holds the 240mm radiator if you have a liquid cooler. On the right-hand edge of the door you will see three silver thumb screws. The top and bottom hold the door in place; the middle one holds the hard drives in place. We can leave the middle one alone for now and just undo the top and bottom ones. Once unscrewed, the door can swing out to the left and allow for easier access to the RAM, CPU, and video card.
To remove the back panel to access any cabling or wiring, you will need a small Phillips head screwdriver. There is a screw at the center top and center bottom of the panel that need to be removed before the back can come off. Once they are removed, the back panel comes off the exact same way the front panel. To put either panel back on, simply align the pegs on the back of the panel with the clips in the case.
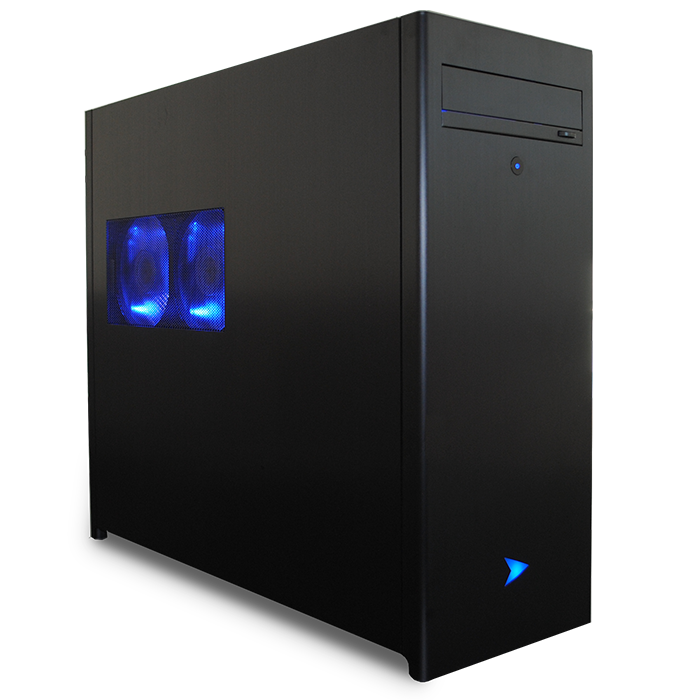
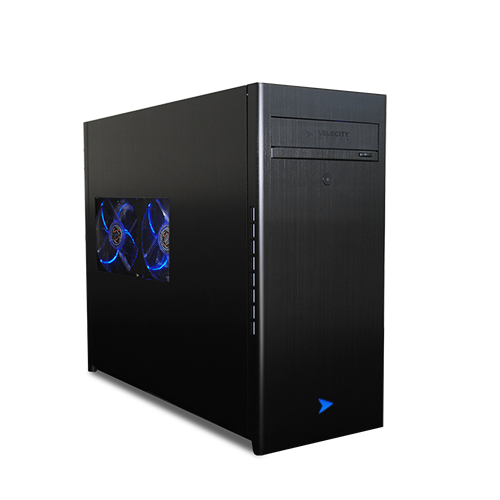
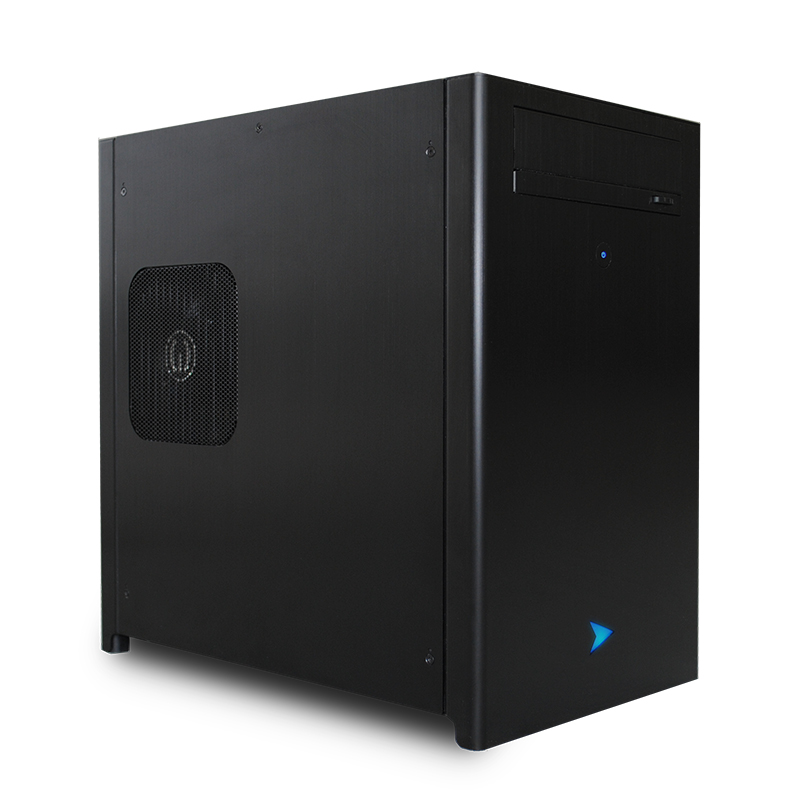
NX and Smallblock
Our NX and Smallblock (SB) cases both have side panels that are easily removed, however the interior of both cases can be harder to work in. To remove the side panel on either, simply undo the Phillips head screw at the top of each panel and lift the panel straight up and pull away from the case. With the NX case there is room enough to do some light troubleshooting work such as reseating a RAM stick, however it may be a very tight fit based on your configuration. The internals of the Smallblock are essentially inaccessible without removing the power supply, and as such we do not recommend attempting any troubleshooting. We strongly suggest contacting our support team for further assistance.