How to Add / Replace a Video Card
Adding or removing a video card is a fairly simple process, and depending on the card, can be done without the removal of any cables. You will need a Phillips head screwdriver, preferably a long one. The process is mostly the same across all of our cases, but we’ll start with the largest cases and work our way down. Always make sure the machine is powered off and unplugged before starting.
GX4/GX5 Case
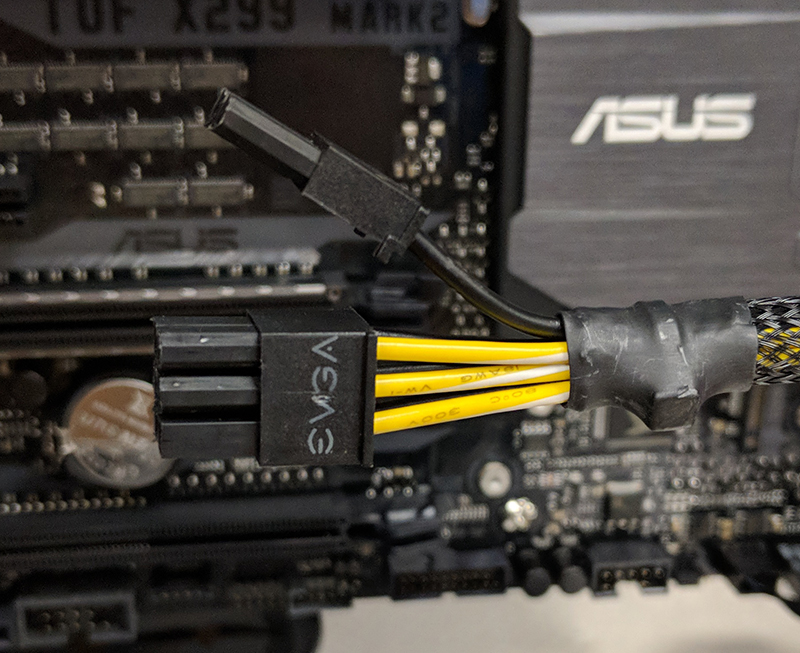
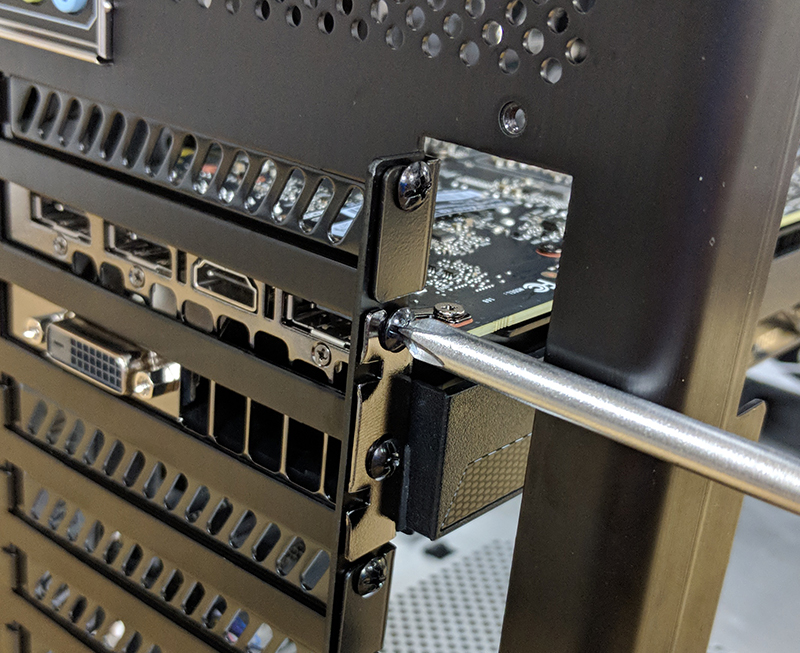
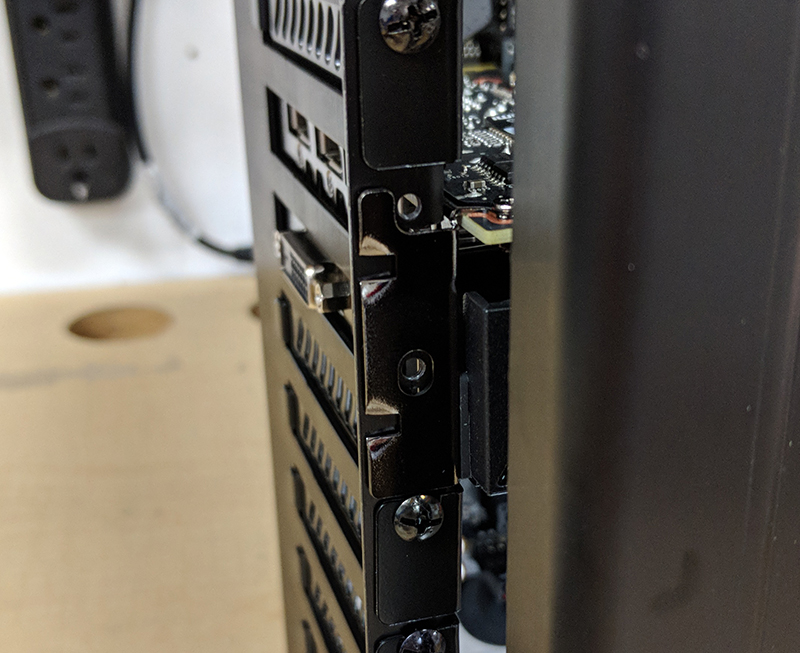
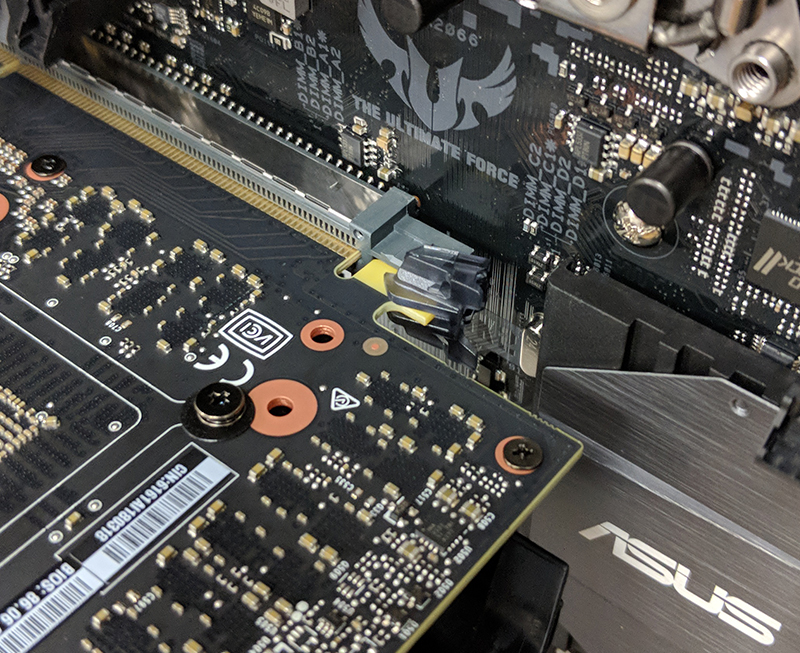
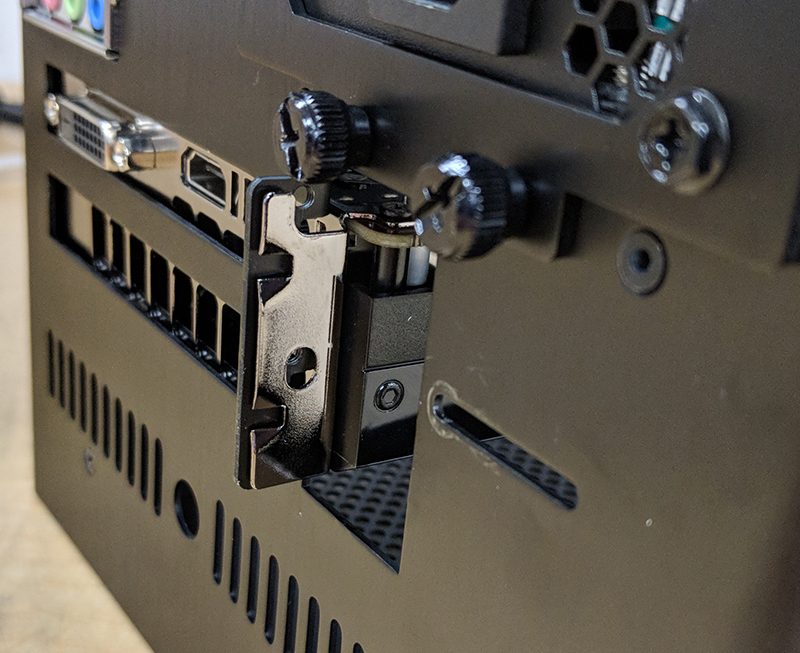
Start by removing the side panel with the mesh opening (in the case of GX4) or clear window (in case of GX5). For help with how to do that on all of our cases, please see our guide on removing side panels. Once the side panel is removed, unplug the PCIe power cables from the video card, if any (they may also be labeled VGA depending on the power supply). To do so, first find the latch that locks the connector to the video card (this is typically on the bottom of the connector, but it may also be on the top depending on the video card). Squeeze that latch with your thumb and index finger and pull away from the video card. If it doesn’t come out easily, don’t keep pulling as you could damage the cable or the video card. Your video card may have two of these connectors, so make sure to remove both of them. Also, if you have an SLI setup, you will need to disconnect the SLI bridge between the video cards. Gently pull on the bridge until it releases. Once you have the cables fully removed it’s time to turn to the back of the case and undo the screws holding the video card in place. On the back of the GX4 you will see 2 thumb screws holding a metal plate in place over the expansion slot covers. You will need to unscrew these and remove the plate to access the screws holding the video card to the case. It may be one or two screws depending on your video card, but in either case, undo both of them and set them to the side.
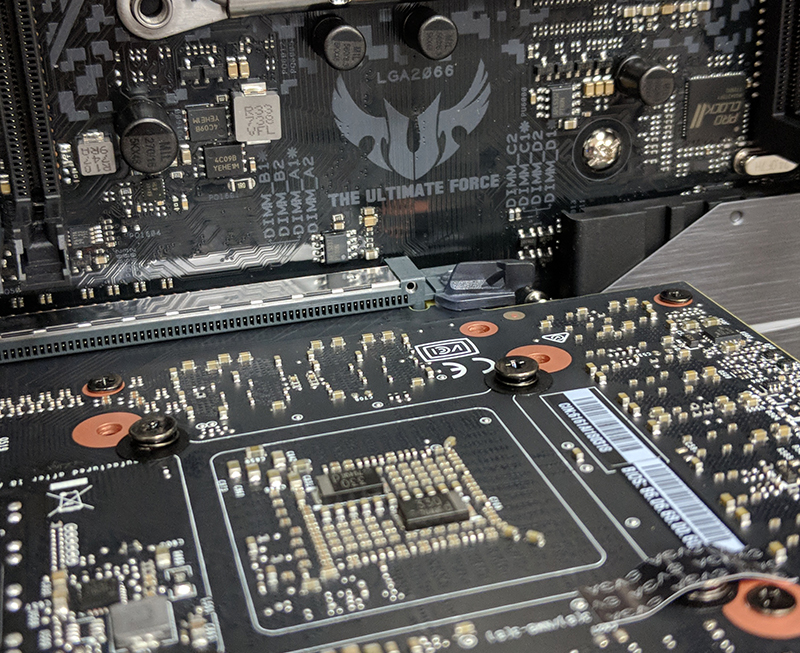
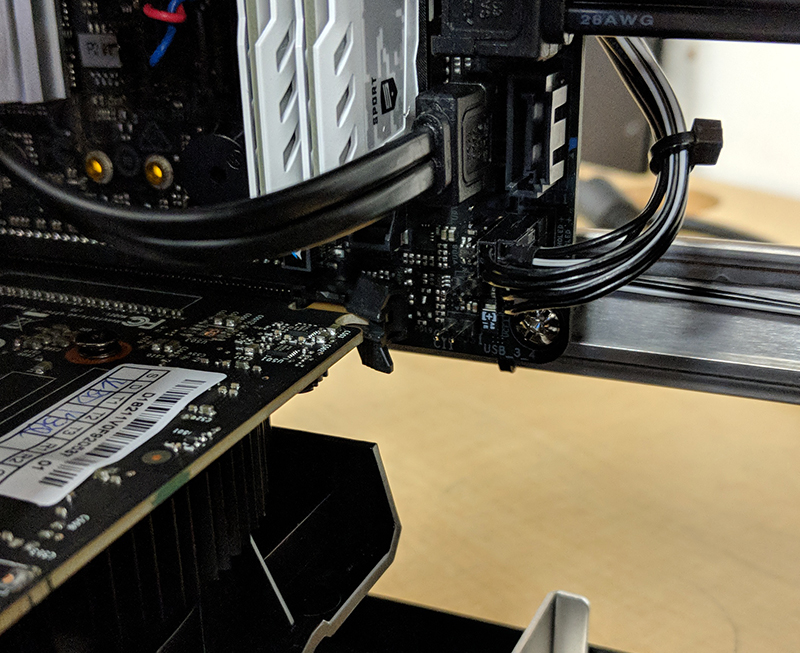
Now it is time to pull the video card out. Back on the inside of the case, the video card is seated in a PCIe slot and held in place by a retention clip, sometimes referred to as a dovetail. To remove the card, take one hand and grip the video card and with the other, use a finger to push the dovetail down towards the motherboard. It may or may not click, but once it is pressed down start pulling the video card towards you with the other hand. You may need to wiggle it side to side a little but it should come out relatively easily.
You are now able to swap in a new card or reseat your existing one for troubleshooting. The process for installing a new card is essentially all of the steps above in reverse. The only thing to note is that when inserting the new video card, make sure that the dovetail is locked and secured. It may not always audibly click when engaged, but it will move to the locked position when it is secured. Also make sure to reconnect any power cables before booting or the system will give you an error.

MX3 Case
The process for removing a video card from an MX3 is essentially identical to the GX4, with the only differences being the number of expansion slots (4 as opposed to 8), the metal plate being shorter, and 2 small screws rather than 2 thumb screws.
NX Case
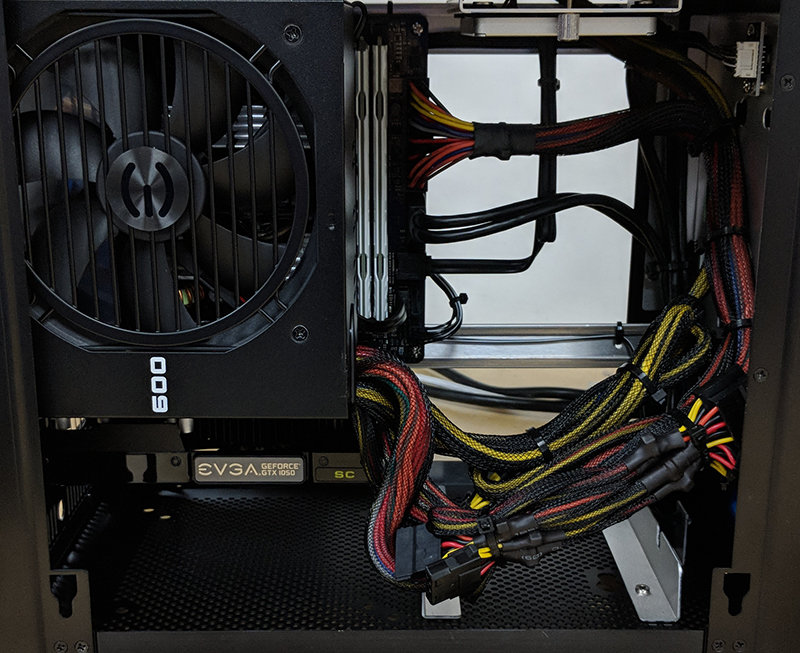
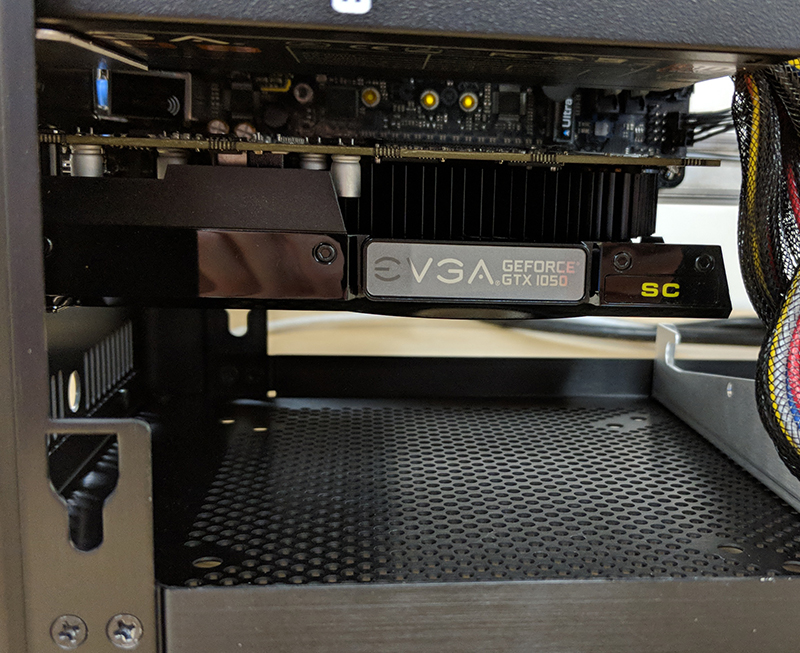
Accessing the video card can be extremely difficult due to the small size of this case. In addition to that, depending on the size of the video card and the number of drives and cables in the system it can be very difficult to add or remove a video card. Regardless, it can still be done by the end user. To start, begin by removing the side panel with the mesh cover. The first thing you will see is the power supply, which will obstruct most of the internals. You can see the video card just below it. If your video card has any power cables connected to it, go ahead and unplug those now.
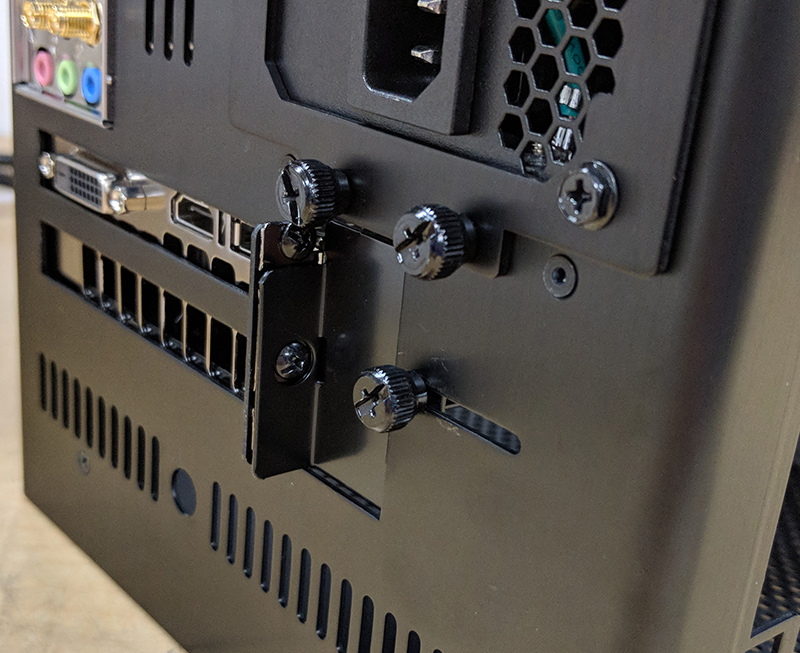
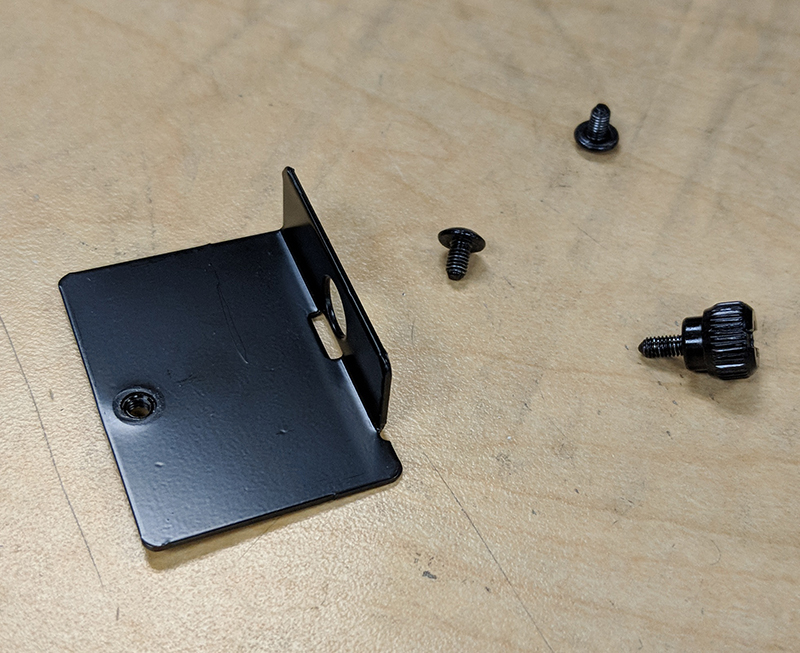
Next, turn the system to the rear and look for the single black thumbscrew towards the bottom of the case. That thumbscrew keeps the metal retention plate that covers the expansion slot covers in place. Take out the thumbscrew and the metal plate should fall out of place. Put it to the side for now. You should now see the screws holding the video card (depending on your card it may require 1 or 2 screws to undo or secure). Remove the screws and the video card should now be removable. Now, reach around the power supply and release the dovetail holding the video card. You should have just enough clearance to pull the video card out. To reinstall the video card, simply follow these directions in reverse order.
A note on what cards can fit inside of the NX case: most video cards will fit inside of the NX, even up to a Titan Xp. However, special editions of some cards that are extended length or thickness may not fit, so check the card’s dimensions before you decide to upgrade.
Small Block case
We do not recommend attempting to access any internals yourself. Accessing the video card requires the removal of the power supply and moving numerous cables. As such, we advise customers who wish to add a video card or troubleshoot anything inside a Small Block case to contact our support team for further assistance.