How to Perform a Clean Installation of Windows
NOTE: this article only applies to Windows 10 installs.
Sometimes it may be necessary to perform a clean installation of Windows, either due to virus corruption, an update failing to apply properly, or simply because Windows has gotten slower over time. In any case, performing a clean installation will wipe the data on your primary drive, so make sure to have everything backed up beforehand.
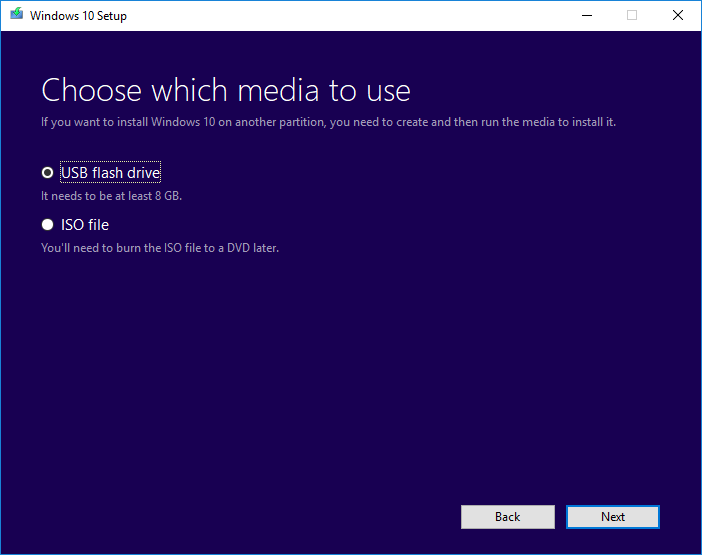
The first thing you will need is a Windows 10 installer. This can either be a DVD that came with your Velocity Micro system or a USB thumb drive that you can make yourself. A thumb drive will be faster and is fairly easy to make. It just needs to be blank and at least 8GB in capacity.
NOTE: If you have a Windows 10 install DVD that came with your Velocity Micro system, it may no longer be the newest version of Windows if it’s more than a few months old. We recommend using the Windows 10 Media Creation Tool (details below) since it will always use the newest version of Windows 10, especially if you were having issues with Windows updates previously. The thumb drive also works better for laptops since newer models do not include any kind of optical drive.
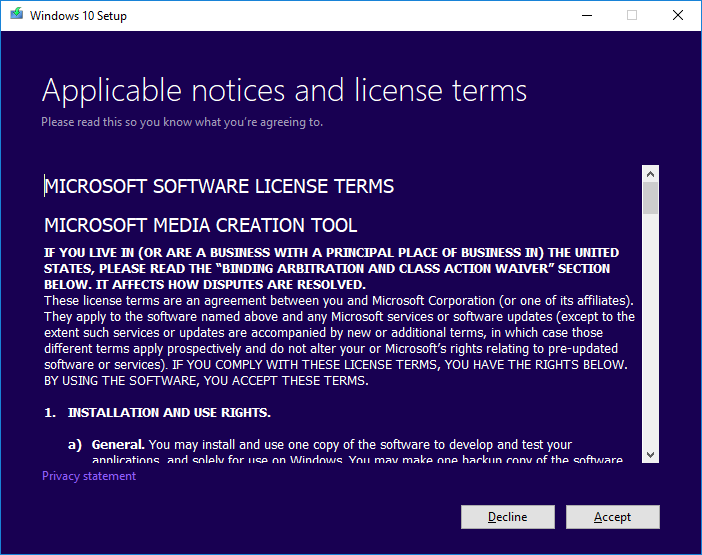
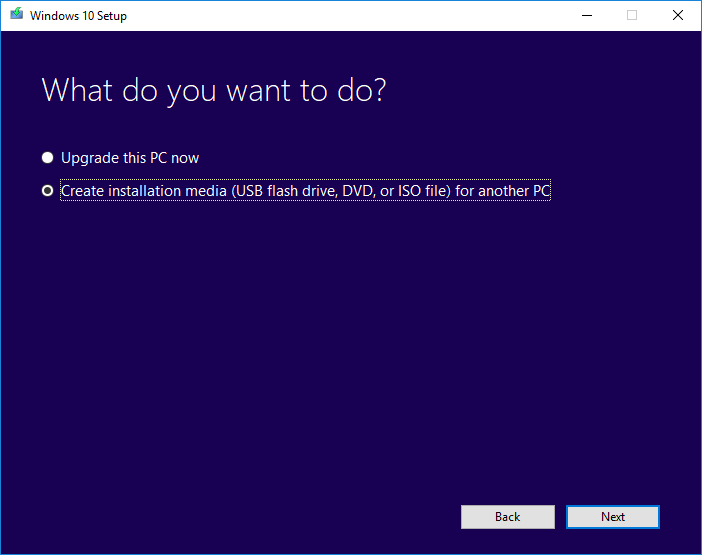
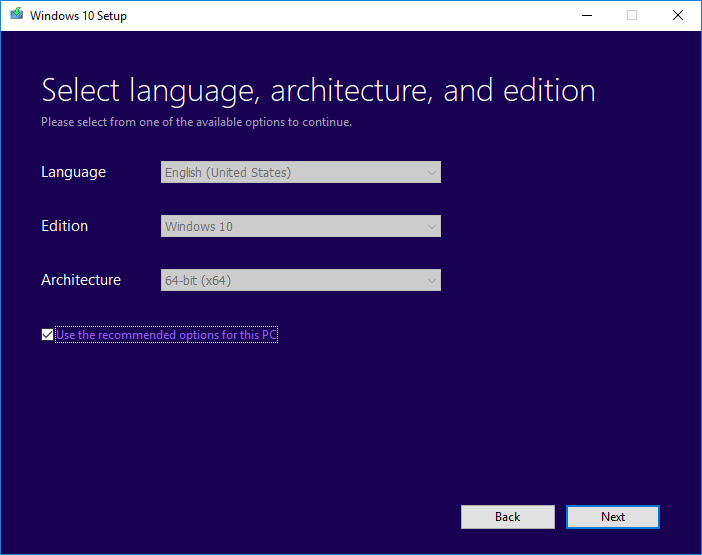
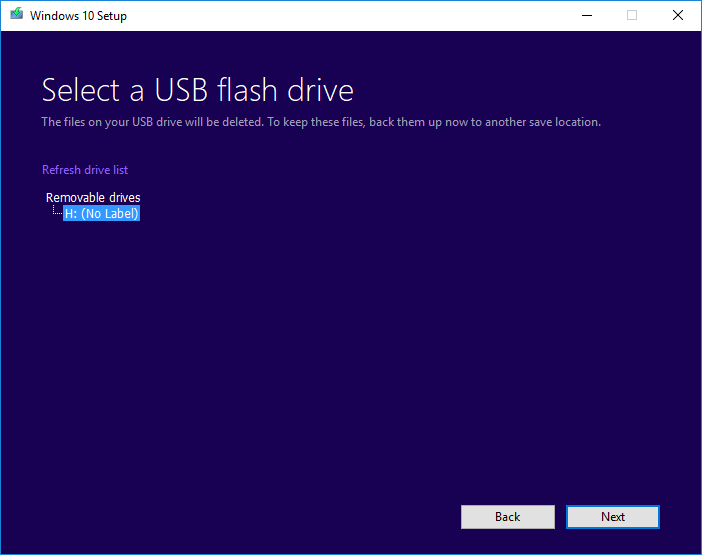
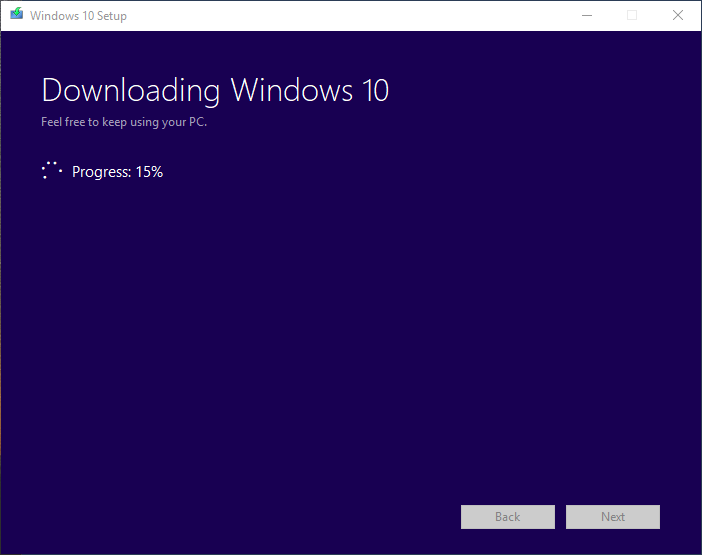
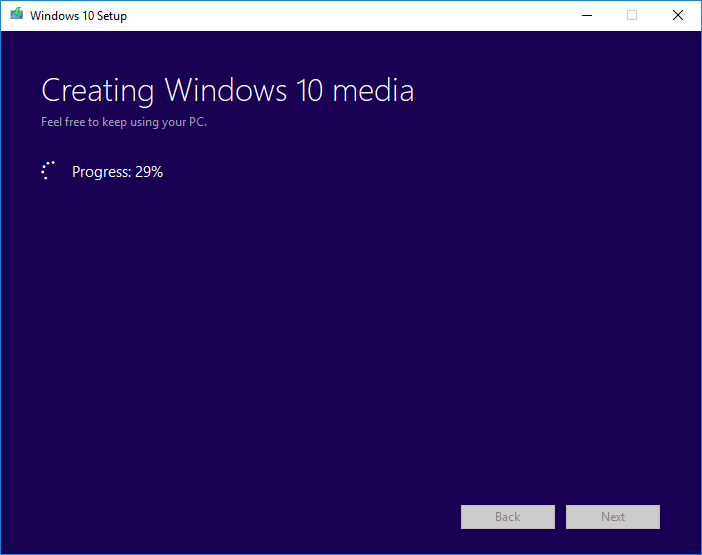
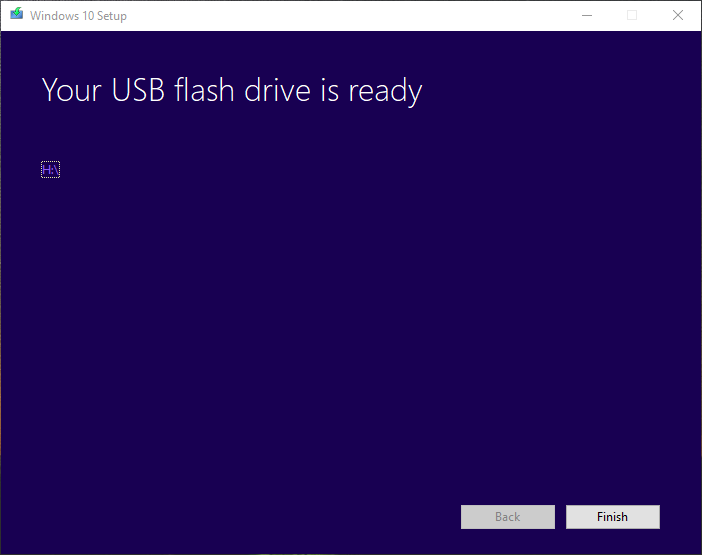
To make a Windows 10 installer USB, you will need to download the Windows 10 Media Creation Tool. If you are unable to get into Windows on the machine you are trying to perform the reinstall, you can do this part of the process on another computer. Download and run the Tool on your computer and follow the steps. You shouldn’t need to change any settings along the way, so just accept the defaults. When it asks which drive you want to install to, make sure you select the right one, as this will wipe the drive. It will take about 30 minutes or more to download and install Windows to the thumb drive, depending on your internet speeds. When it’s done, follow the last few steps and eject the drive once the whole process is finished (if you did this on the machine you are going to reinstall to, you can leave the thumb drive plugged in and restart the computer).
Take the thumb drive to the machine and plug it in. Restart it if it isn’t already powered off. Once you see the Velocity Micro logo start pressing the boot menu key on your keyboard (F8 for Asus, F12 for Gigabyte, F11 for MSI, F7 for laptops), then select the thumb drive from the boot menu.
NOTE: If you see an entry in the boot menu that has your thumb drive preceded by “UEFI”, use that option.
After about a minute, you will come to the first screen of the installer, asking you to confirm your language and keyboard layout. Before we do that, however, we’re going to format the C: drive. On your keyboard, hold down the “SHIFT” key and press “F10” to bring up a command prompt. In the prompt, type “diskpart” without the quotation marks and press enter. After a few seconds it should be ready for more input. Now type “lis dis” to show all connected disks in your system. Each disk will have a number assigned to it and show the total capacity and the amount of space free. Your C: drive won’t be labeled as C:, so it’s important to choose the right drive to format. For example, if your system has a 1 TB mechanical drive as your C: drive, it will show here as a 931 GB drive. Once you’ve determined which drive is C:, type “sel dis X”, with X being the number assigned to that drive. The prompt should return with confirmation that it is now the selected disk. Now type “clean” and wait a few moments for the disk to format. Now type “convert gpt” and after that is done, you can close the prompt.
A few things to note before we proceed. When reinstalling Windows to your C: drive it is not required to also wipe your secondary drives, if you have any. In fact, you can move important documents to your secondary drives before reinstalling and access them later. If you do wish to wipe your secondary drives, simply repeat the steps above for as many drives as needed. Another thing to be aware of is if you have drives that are larger than 3 TB in capacity, you will need to run the “convert gpt” command on each of them. There is a limitation in the NTFS file system that means it can’t address any partition greater than about 2.2 TB. Using GPT allows NTFS to use the whole drive.
After you have closed the command prompt, you can continue with the installation. The installer will ask you for your activation key. If you already have it written down, you can enter it now, otherwise just select “I don’t have a product key”. You can enter it later. Next it will ask you for the version of Windows you’d like to install. Make sure you select the right version (corresponding to your key), because you will have to reinstall again if you choose the wrong one. After that, you will be asked if you want to do an upgrade install or a custom install. Choose custom installation. Now you will see a screen showing all connected drives in your system. Find the drive that has no partitions, but only unallocated space. For example, it will read something like “Drive X Unallocated Space 931 GB.” Select it by left clicking and choosing next. Now it will begin installing Windows. It will take some time to fully complete, but once it’s done you will be at the user setup screen. Go ahead and complete the setup. Your reinstall is complete, but now you will need to get all of the proper drivers for your system. For help with that, see our guide on finding the right drivers for your system. If you have secondary drives in your system, you may need to manually assign them a drive letter before they show up. You can do that through Disk Management and by right clicking on the drive, selecting “Change Drive Letters and Paths,” and then assigning the letter you want.
There are a few special cases for reinstall that are worth going over. If you are still using Windows 7, you can download a Windows 7 ISO from Microsoft, but it will ask for your Windows 7 key before it will let you download it. The Media Creation Tool outlined above does not apply to Windows 7. You will need to use another utility to create a bootable Windows 7 drive. If you are using an NVMe drive with Windows 7, you will need to side load the NVMe driver during the installation. The same applies to RAID arrays in Windows 7.